Installation
Requirements
DMX is a web application. The DMX Server can run on any platform which supports Java, e.g. Windows, macOS, or Linux.
Warning
DMX installation types
There are 2 DMX installation types:
local – DMX Server and DMX Webclient run on same machine. Single-user.
networked – DMX Server and DMX Webclients run on different machines. Multi-user.
A default DMX installation is a local installation.
The DMX Server opens port 8080. Your computer is still safe though. The DMX Server comes with a request filter and by default it accepts requests only from localhost.
Hint
Linux users: if your Linux distribution is APT-based (like Debian/Ubuntu) you can install DMX via apt. Skip to section APT-based Linux Installation.
Alternatively you can run the generic zip based DMX installation. Just read on.
Installation and first launch
Although DMX is a client-server application, installation and first launch is as easy as buttering a toast:
Download dmx-5.3.4.zip
Unzip it. Result is a folder
dmx-5.3.4Open the DMX Folder and run the starter script suitable for your platform:
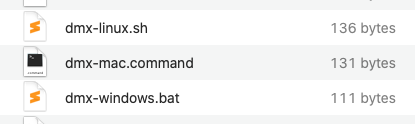
The starter script runs without user interaction. The DMX Server is started, a lot of information is logged to the DMX terminal window, and finally a browser window opens, showing the DMX Webclient:
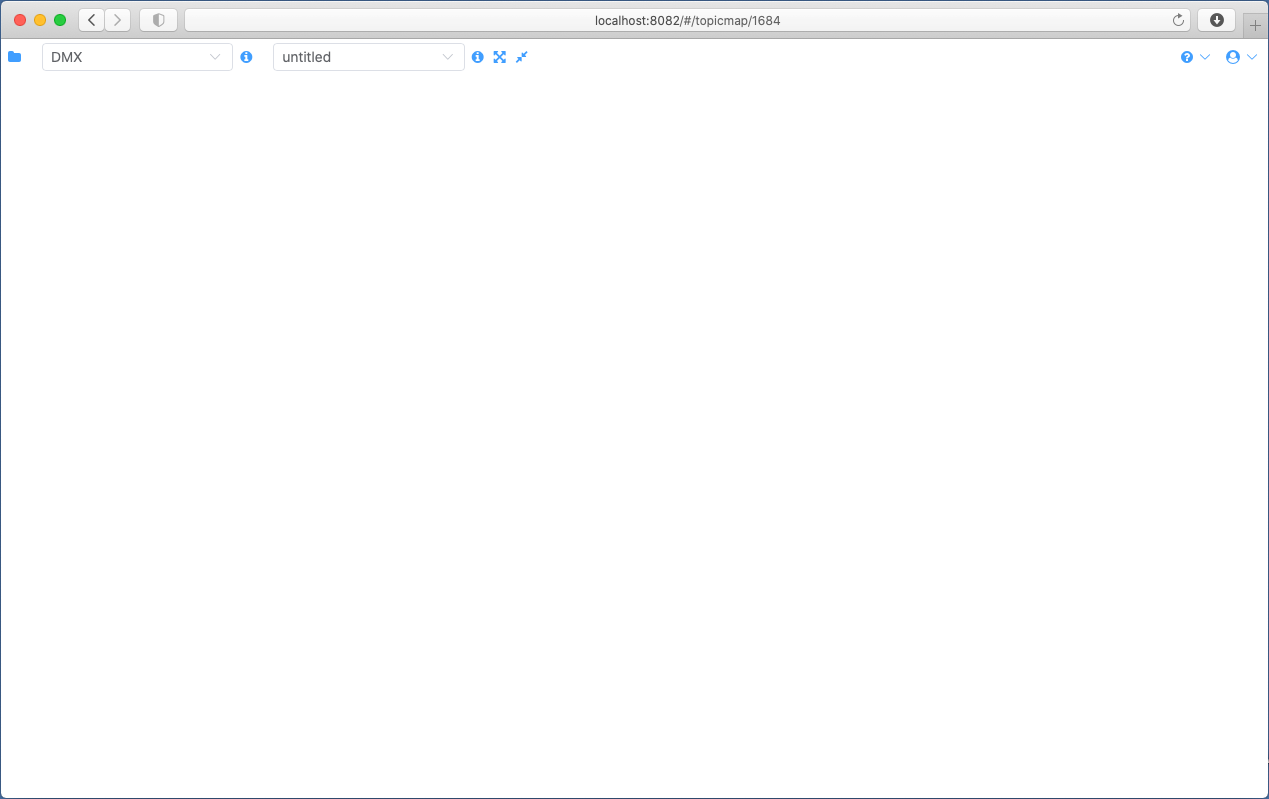
A pristine DMX Webclient when launched for the 1st time. The actual UI takes the back seat and gives way to your content. But at this moment you have none – you’re starting with a clean slate.
Hint
Windows users: The Windows Defender Firewall might ask you whether to grant network access to Java applications. Choose “Private networks, such as my home or work network”.
At 1st run the starter script creates an empty Corporate Memory: a folder dmx-db now exists inside the DMX Folder.
DMX does not install any files on your computer. Everything needed, including the database, exists inside the DMX Folder, and stays there.
Operate your installation
Configuration
By default the DMX Server listens on port 8080.
To change the port edit org.osgi.service.http.port in file dmx-5.3.4/conf/config.properties.
For the change to take effect, the DMX Server needs to be restarted, that is stopped and started in turn.
Further configuration options are described in the DMX Admin Guide.
Starting the DMX Server
Hint
Do not try starting the DMX Server if it is running already.
In case you’ve (accidentally) closed the DMX Webclient window/tab (while the DMX Server is still running): proceed with Opening the DMX Webclient.
In case you’ve changed DMX’s config and want restart the server: stop the server first, and start it again.
To start the DMX Server, open the DMX Folder and run the starter script suitable for your platform:
The starter script runs without user interaction. While the DMX Server is started a lot of information is logged to the DMX terminal window. Finally a browser window opens, showing the DMX Webclient.
Stopping the DMX Server
To shutdown the DMX Server, in the DMX terminal window enter stop 0 and press Return. While shutting down a lot of information is logged.
Opening the DMX Webclient
To open the DMX Webclient point your browser to http://localhost:8080/systems.dmx.webclient/. Note the / at end.
The DMX Server must be running.
Uninstall
To uninstall DMX:
Stop the DMX Server
Delete the DMX Folder
This removes DMX completely from your computer, including the database.
The Java Runtime Environment needs to be uninstalled separately.
Warning
Your Corporate Memory will be lost.
To keep it make a copy of the dmx-db folder before deleting the DMX Folder.
APT-based Linux Installation
For APT-based Linux distributions (like Debian/Ubuntu) we provide an APT repository.
It is mainly intended for setting up a networked DMX installation on a server machine, but can be used for setting up a local DMX installation on a private machine as well (see DMX installation types).
The package has a built-in dependency to default-jre.
Here is how to download and execute our install script. It adds the repository, installs DMX from it, prompts the user for the DMX admin passphrase and starts DMX as a daemon:
$ curl -sS https://download.dmx.systems/repos/dmx-install.sh | sudo bash
Configuration
By default the DMX Server listens on port 8080.
To change the port edit org.osgi.service.http.port in file /etc/dmx/config.properties.
For the change to take effect, the DMX Server needs to be restarted, that is stopped and started in turn.
Further configuration options are described in the DMX Admin Guide.
Starting the DMX Server
Invoke this command to start the daemon:
systemctl start dmx
Stopping the DMX Server
Stop the daemon by running:
systemctl stop dmx
Opening the DMX Webclient
To open the DMX Webclient point your browser to http://localhost:8080/systems.dmx.webclient/. Note the / at end.
The DMX Server must be running.
